vertical metal siding installation guide
Vertical metal siding offers a contemporary aesthetic and robust weather protection for homes and buildings. This comprehensive guide details the installation process,
covering preparation, techniques, and maintenance for a lasting, beautiful result.
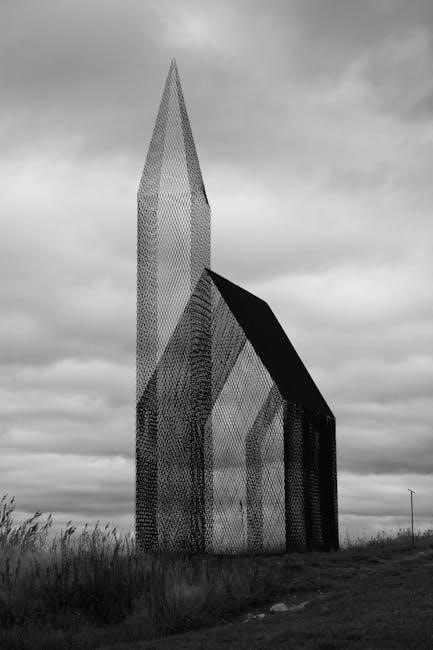
Modern homeowners increasingly choose aluminum and steel options like Vesta Steel Plank for their durability and ease of installation.
Benefits of Vertical Metal Siding
Vertical metal siding presents numerous advantages for property owners seeking a blend of style and practicality. Its inherent durability resists harsh weather conditions, minimizing long-term maintenance and repair costs. Unlike traditional materials, metal siding is non-combustible, enhancing fire safety.
Furthermore, aluminum and steel siding, such as Vesta Steel Plank, offer excellent energy efficiency, potentially reducing heating and cooling expenses. The sleek, modern appearance instantly boosts curb appeal, increasing property value. Installation is relatively straightforward, making it a viable DIY project for experienced homeowners, though professional installation ensures optimal results.
Metal siding is also lightweight, reducing structural stress on the building, and is available in a wide array of colors and finishes to complement any architectural style.
Tools and Materials Needed
Successfully installing vertical metal siding requires a specific set of tools and materials. Essential tools include a measuring tape, level, circular saw with a metal-cutting blade, drill with appropriate bits, and a snap-lock punch tool for interlocking panels. Safety gear – gloves, safety glasses, and a hard hat – is crucial.
Materials will encompass the metal siding panels themselves (aluminum or steel, like Vesta Steel Plank), starter strips, corner posts, J-channels for windows and doors, and appropriate fasteners. Caulk, sealant, and potentially insulation boards are also necessary. Don’t forget to account for flashing for proper water management.
Having a siding removal tool can also be helpful if replacing existing siding. Ensure all materials are compatible and meet local building codes.
Preparing for Installation
Proper preparation is key for a successful vertical metal siding project. This involves accurate measurements, thorough substrate evaluation, and adherence to local building regulations.
Measuring and Planning
Accurate measurements are fundamental to minimizing waste and ensuring a professional finish. Begin by carefully measuring the entire surface area requiring siding. Account for all openings – windows, doors, vents – and add extra material, typically 10-15%, for cuts and potential errors.
Planning the layout is crucial. Determine the starting point and direction of the siding panels. Consider the aesthetic impact of panel orientation and overlap. Sketch a detailed plan, noting panel dimensions, overlap details, and fastener locations. This visual guide will streamline the installation process and reduce costly mistakes. Remember to factor in corner and trim pieces during your planning phase.
Finally, double-check all measurements and calculations before ordering materials.
Substrate Preparation
Proper substrate preparation is vital for a secure and long-lasting siding installation. Begin by inspecting the wall sheathing for any damage – rot, mold, or structural weaknesses. Repair or replace any compromised sections before proceeding. Ensure the surface is clean, dry, and free of debris, including old nails, paint flakes, and loose materials.
A moisture barrier, such as house wrap, is essential, especially in climates with high humidity or rainfall. Overlap seams by at least six inches and tape them securely. This prevents water penetration and protects the underlying structure. Verify the substrate is flat and level; minor imperfections can be addressed with shims.
Finally, confirm the substrate is structurally sound to support the weight of the siding.
Understanding Building Codes
Local building codes significantly impact vertical metal siding installation. Before starting, contact your local building department to obtain necessary permits and understand specific requirements. These often cover aspects like fire resistance, wind load capacity, and proper fastening techniques.
Compliance ensures the safety and longevity of your project. Codes may dictate the type of fasteners required, the minimum overlap for panels, and the necessary clearances around windows and doors. Some areas have specific regulations regarding the use of house wrap or moisture barriers.
Ignoring codes can lead to costly rework and potential safety hazards. Always prioritize adherence to local regulations throughout the installation process.

Installation Process: Step-by-Step
Proper installation involves securing starter strips, carefully hanging the first panel, overlapping subsequent panels, and accurately cutting around openings for a professional finish.
Installing Starter Strips
Starter strips are crucial for a level and secure siding installation. Begin by establishing a perfectly level baseline along the lowest edge of the wall, using a spirit level for accuracy. These strips provide a secure attachment point for the first panel and compensate for any slight irregularities in the wall surface.
Attach the starter strips directly to the wall substrate, ensuring consistent spacing between fasteners – typically 12-16 inches apart. Use corrosion-resistant screws designed for exterior applications. Pay close attention to corners; mitering or using pre-fabricated corner pieces will create a clean, professional look. A properly installed starter strip is the foundation for a straight and durable siding installation.
Ensure the starter strip is flush with the bottom of the wall and securely fastened to prevent future sagging or detachment of the siding panels.
Hanging the First Panel
Hanging the first panel requires precision to ensure all subsequent panels align correctly. Carefully lift the first siding panel into position, interlocking it with the previously installed starter strip. Ensure the panel is plumb – perfectly vertical – using a level.
Begin fastening the panel using appropriate screws, starting at the top and working your way down. Follow the manufacturer’s recommended fastener spacing, typically 12-16 inches apart. Avoid over-tightening, which can cause panel distortion.
Double-check the panel’s alignment frequently throughout the fastening process. This initial panel sets the standard for the entire installation, so accuracy is paramount. A slight deviation here will compound as you install additional panels.
Overlapping and Securing Panels
Overlapping vertical metal siding panels is crucial for weather resistance and a clean aesthetic. Each panel should slightly overlap the one below it, typically by at least one inch, as specified by the manufacturer. This creates a shingle-like effect, preventing water from penetrating the seams.
Secure each panel using corrosion-resistant screws, driven directly through the overlapping flange into the studs or sheathing. Maintain consistent fastener spacing – generally 12 to 16 inches apart – for uniform attachment.
Ensure screws are driven straight and flush with the panel surface, avoiding any protrusion. Regularly check for plumb and level as you progress, making minor adjustments as needed to maintain a straight and consistent siding installation.
Cutting Panels for Openings (Windows & Doors)
Cutting vertical metal siding around windows and doors requires precision. Accurately measure the opening, adding extra space for any trim or flashing. Use metal snips, a circular saw with a metal-cutting blade, or a specialized shear for clean cuts.
Always wear safety glasses and gloves when cutting metal siding. Create a template for recurring openings to ensure consistency. Carefully notch the siding panels to fit snugly around the window or door frame, leaving a small gap for expansion and contraction.
Properly flash around all openings to prevent water intrusion. Seal any cut edges with a corrosion-resistant sealant to protect against the elements and maintain the siding’s integrity.

Specific Siding Types & Considerations
Aluminum siding is lightweight and corrosion-resistant, while steel siding, like Vesta Steel Plank, offers superior durability and a distinctive aesthetic for your project.
Aluminum Siding Installation
Aluminum siding installation requires careful handling due to the material’s softness. Begin by ensuring the substrate is clean, dry, and structurally sound. Utilize appropriate starter strips to establish a level base for the first panel.
When hanging panels, overlap them according to the manufacturer’s specifications, typically with a slight reveal. Secure the panels using corrosion-resistant fasteners, ensuring they penetrate into the wall studs.
Cutting aluminum siding can be achieved with snips or a circular saw with a non-ferrous metal blade. Remember to deburr any cut edges to prevent damage and maintain a clean appearance. Proper sealing around windows and doors is crucial to prevent moisture intrusion.
Steel Siding (Vesta Steel Plank) Installation
Vesta Steel Plank siding, known for its durability and iconic design, requires specific installation techniques. Begin with properly installed starter strips, ensuring they are level and securely fastened to the substrate. Steel is heavier than aluminum, so robust support is essential.
Hang the first panel, carefully aligning it with the starter strip. Overlap subsequent panels according to the manufacturer’s guidelines, typically utilizing a locking system. Use self-drilling screws designed for steel siding to secure the panels to the studs.
Cutting steel siding necessitates specialized shears or a circular saw with a metal-cutting blade. Always wear safety glasses and gloves when working with steel.
Dealing with Corners and Trim
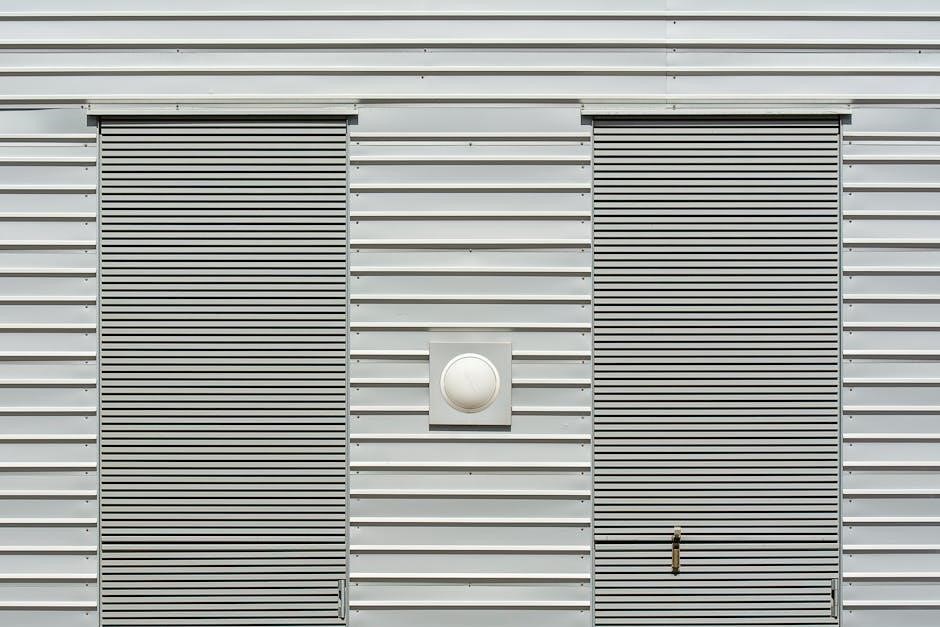
Corners and trim are critical areas for a professional vertical metal siding installation. Outside corners require overlapping panels or dedicated corner posts, ensuring a watertight seal. Inside corners often necessitate careful cutting and bending of the siding to create a clean, fitted appearance.
Utilize appropriate trim pieces – J-channel for window and door openings, and corner trim for exterior corners – to cover exposed edges and provide a finished look. Caulk all seams and joints with a high-quality, exterior-grade sealant to prevent water intrusion.
Precise measurements and accurate cuts are paramount when working with trim. Consider using a metal-cutting blade for clean, straight edges.
Fastening Techniques
Proper fastening is crucial for secure, long-lasting vertical metal siding. Selecting the right fasteners and maintaining consistent spacing ensures panel stability and weather resistance.
Choosing the Right Fasteners
Selecting appropriate fasteners is paramount for a successful vertical metal siding installation. Consider the siding material – aluminum requires different fasteners than steel, like Vesta Steel Plank. Corrosion resistance is key; opt for fasteners specifically designed for exterior use, often featuring a zinc or polymer coating.
Screw length must penetrate the siding, insulation (if any), and securely anchor into the wall studs. Avoid over-driving screws, which can damage the siding and compromise the seal. Self-drilling screws simplify installation, particularly with steel siding.
Hidden fastener systems are available for a cleaner aesthetic, but require precise installation. Always consult the siding manufacturer’s recommendations for fastener type, size, and spacing to maintain warranty validity and ensure optimal performance.
Proper Fastener Spacing
Consistent fastener spacing is crucial for uniform siding appearance and structural integrity. Generally, fasteners should be spaced 12-16 inches apart vertically, along the height of each panel. Horizontal spacing typically falls between 16-24 inches, aligning with wall stud locations for maximum support.
Wind load considerations necessitate tighter spacing in high-wind areas. Always refer to local building codes and the siding manufacturer’s specifications, as Vesta Steel Plank or aluminum siding may have unique requirements.
Avoid overcrowding fasteners, which can cause panel distortion. Ensure each fastener is driven straight and flush with the siding surface. Proper spacing prevents buckling, allows for thermal expansion and contraction, and maintains the siding’s weather-resistant properties.
Finishing Touches
Sealing and caulking around windows, doors, and corners prevents water intrusion. Proper ventilation behind the siding is vital to prevent moisture buildup and maintain longevity.
Sealing and Caulking
Sealing and caulking are crucial final steps in vertical metal siding installation, safeguarding against water damage and air infiltration. Apply a high-quality, exterior-grade sealant to all seams, joints, and penetrations – around windows, doors, corners, and where siding meets trim.
Choose a sealant specifically designed for metal siding, ensuring compatibility and long-term adhesion. Backer rods should be used in larger gaps before applying sealant, providing support and controlling sealant depth.
Pay close attention to top edges of siding panels to prevent water from running behind the material. Inspect caulked areas periodically and reapply as needed to maintain a watertight seal, protecting your investment and home’s structural integrity.
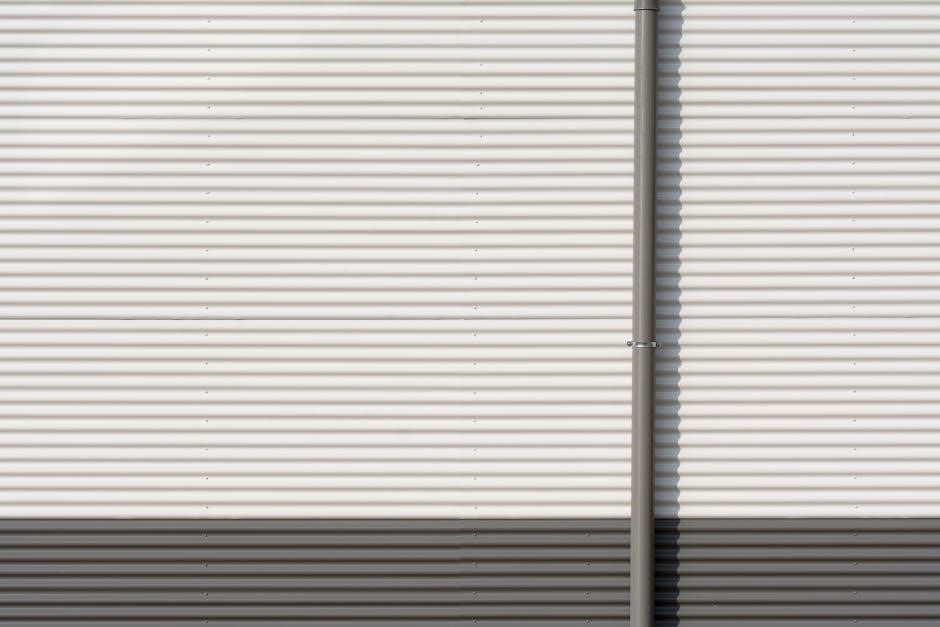
Ventilation Considerations
Proper ventilation is paramount when installing vertical metal siding to prevent moisture buildup and potential structural damage. Ensure existing soffit and ridge vents are unobstructed, allowing for adequate airflow within the attic space.
The siding installation shouldn’t impede these ventilation pathways. Consider a rainscreen gap between the siding and the wall sheathing; this creates an air cavity promoting drainage and drying.
This gap allows air to circulate, reducing the risk of mold and mildew growth. Check local building codes for specific ventilation requirements. Maintaining adequate ventilation extends the lifespan of both the siding and the building itself, ensuring a healthy and durable exterior.

Troubleshooting Common Issues
Addressing panel alignment and water penetration are crucial during installation. Careful planning, proper fastening, and diligent sealing will resolve most problems effectively.
Addressing Panel Alignment Problems
Misaligned panels detract from the sleek appearance of vertical metal siding and can compromise weather resistance. Often, slight adjustments during installation can correct minor deviations. Begin by checking the starter strips; ensure they are perfectly level as they form the foundation for subsequent panels.
If panels are bowing or twisting, loosen the fasteners slightly and gently reposition them. Avoid over-tightening, which can exacerbate the issue. For significant misalignment, carefully remove the affected panel and re-hang it, verifying proper overlap with adjacent panels.
Inspect the substrate for inconsistencies; an uneven surface can contribute to alignment problems. Utilize shims where necessary to create a smooth, even base. Consistent fastener spacing is also vital for maintaining a straight, uniform appearance.
Dealing with Water Penetration
Water penetration behind vertical metal siding can lead to significant structural damage. Proper installation, including correct overlapping and sealing, is crucial for prevention. Inspect all seams, corners, and around windows and doors for potential entry points.
Caulking is essential; use a high-quality, exterior-grade sealant specifically designed for metal siding. Pay close attention to fastener penetrations, ensuring each is thoroughly sealed. Verify that the siding’s ventilation system isn’t blocked, allowing moisture to escape from within the wall cavity.
If leaks occur, identify the source promptly. Check for damaged or missing sealant, improper overlaps, or compromised flashing. Address these issues immediately to prevent further water damage and maintain the siding’s integrity.
Maintenance and Care
Vertical metal siding requires minimal upkeep. Regular cleaning with mild soap and water preserves its appearance. Annual inspections for damage—dents, corrosion—ensure longevity and prevent costly repairs.
Cleaning Vertical Metal Siding
Regular cleaning is crucial for maintaining the appearance and extending the lifespan of your vertical metal siding. Fortunately, it’s a relatively simple process. Begin by rinsing the siding with a garden hose to remove loose dirt and debris.
Next, prepare a cleaning solution using mild dish soap and warm water. Avoid abrasive cleaners, as these can damage the siding’s finish. Apply the solution with a soft brush or sponge, working from the bottom up to prevent streaking.

Rinse thoroughly with clean water, again working from the bottom up. For stubborn stains, a specialized metal siding cleaner may be necessary, but always test it in an inconspicuous area first. Avoid using a pressure washer, as it can cause damage.
Consistent, gentle cleaning will keep your siding looking its best for years to come.
Inspecting for Damage
Regular inspections are vital to identify and address potential issues with your vertical metal siding before they escalate. At least twice a year – spring and fall – carefully examine the siding panels for dents, scratches, or signs of corrosion.
Pay close attention to areas around fasteners, corners, and seams, as these are more susceptible to damage. Look for loose or missing fasteners and address them promptly. Check for any signs of water penetration, such as staining or mold growth, which could indicate a compromised seal.
Early detection of damage allows for timely repairs, preventing costly replacements and maintaining the siding’s protective qualities. Address any issues immediately to preserve the aesthetic appeal and structural integrity of your home.
Proactive inspection is key to long-term siding health.